


Wiring a Russian wall socket correctly is crucial for both safety and functionality. As a supplier of Russian wall sockets, I've encountered numerous questions and concerns from customers regarding the wiring process. In this blog post, I'll share a comprehensive guide on how to wire a Russian wall socket properly, drawing on my experience in the industry.
Understanding the Russian Wall Socket
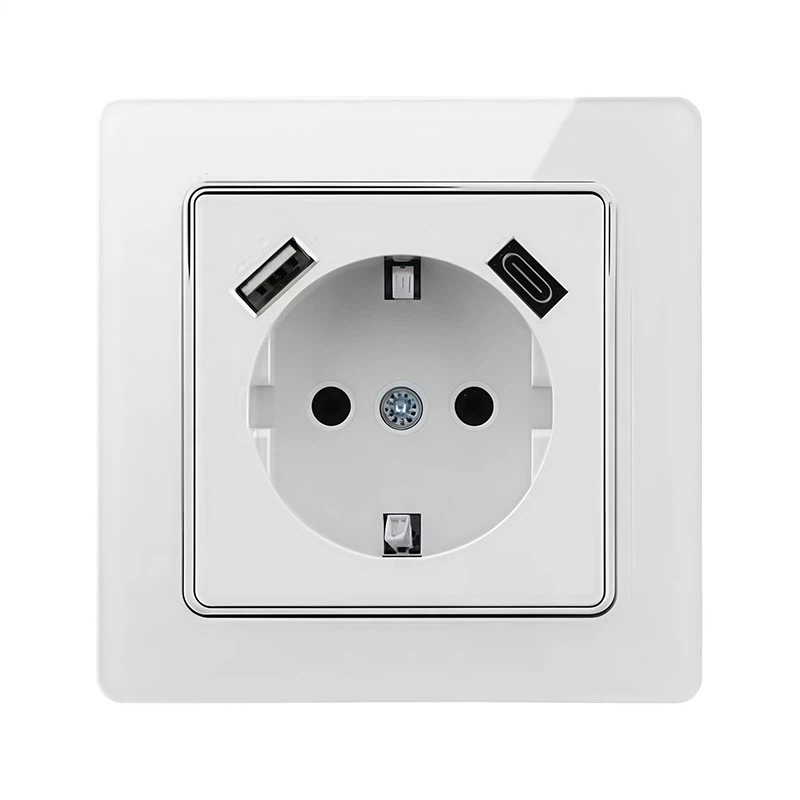
Before delving into the wiring process, it's essential to understand the basic features of a Russian wall socket. Russian wall sockets typically follow the GOST 7396 standard, which specifies the design and electrical requirements. These sockets usually have three pins: two for live and neutral wires and one for the ground wire. The voltage in Russia is 220V, and the frequency is 50Hz.

Tools and Materials Required
To wire a Russian wall socket, you'll need the following tools and materials:
- Screwdriver set: A set of flat - head and Phillips - head screwdrivers for removing and installing the socket cover and terminal screws.
- Wire strippers: To remove the insulation from the electrical wires.
- Electrical tape: For insulating the wire connections.
- A Russian wall socket: Of course, you'll need a suitable socket. We offer a wide range of high - quality Russian wall sockets, and you might also be interested in our other European wall sockets such as the Skin Sensation French Socket 16A, Skin Sensation Double Germany Socket 16A, and 2a Socket Outlet.
- Electrical wires: Make sure the wires are of the appropriate gauge for the intended load.
Safety Precautions
Safety should always be your top priority when working with electricity. Here are some important safety precautions to follow:
- Turn off the power: Before you start any wiring work, turn off the circuit breaker that controls the power to the area where you'll be working. Use a voltage tester to confirm that the power is off.
- Wear protective gear: Wear insulated gloves and safety glasses to protect yourself from electrical shocks and debris.
- Avoid working in wet conditions: Water is a good conductor of electricity, so never work on electrical wiring in wet areas.
Step - by - Step Wiring Process
Step 1: Prepare the Wires
First, strip about 1 - 1.5 inches of insulation from the ends of the live, neutral, and ground wires. Be careful not to nick the wires while stripping the insulation, as this can weaken the wire and increase the risk of a short circuit.
Step 2: Identify the Wires
In a typical electrical installation, the live wire is usually brown, the neutral wire is blue, and the ground wire is green - yellow. However, it's always a good idea to double - check using a voltage tester.
Step 3: Open the Wall Socket
Use a screwdriver to remove the screws on the socket cover. This will expose the terminal screws where you'll connect the wires.
Step 4: Connect the Wires
- Live wire: Connect the brown live wire to the terminal marked "L" on the socket. Tighten the terminal screw firmly to ensure a good electrical connection.
- Neutral wire: Connect the blue neutral wire to the terminal marked "N" on the socket. Again, make sure the screw is tightened properly.
- Ground wire: Connect the green - yellow ground wire to the grounding terminal on the socket. This terminal is usually marked with a symbol of a triangle with a line through it.
Step 5: Inspect the Connections
After connecting the wires, visually inspect the connections to make sure there are no loose wires or exposed conductors. You can also give the wires a gentle tug to ensure they are securely attached to the terminals.
Step 6: Close the Wall Socket
Once you're satisfied with the connections, replace the socket cover and tighten the screws. Make sure the cover fits snugly to prevent dust and moisture from entering the socket.
Step 7: Restore the Power
Turn the circuit breaker back on and use a plug - in electrical tester to check if the socket is working properly. If the tester indicates that there is power and the polarity is correct, the wiring is successful.
Troubleshooting
If the socket doesn't work after you've completed the wiring, here are some common issues and solutions:
- No power: Check if the circuit breaker has tripped again. If it has, there might be a short circuit in the wiring. Inspect the connections carefully and look for any exposed wires or loose connections.
- Incorrect polarity: If the tester indicates that the polarity is incorrect, double - check the wire connections. Make sure the live wire is connected to the "L" terminal and the neutral wire is connected to the "N" terminal.
Conclusion
Wiring a Russian wall socket correctly is not overly complicated as long as you follow the right steps and take the necessary safety precautions. As a supplier, we're committed to providing high - quality products and useful information to our customers. Whether you're a professional electrician or a DIY enthusiast, our range of wall sockets can meet your needs.
If you're interested in purchasing our Russian wall sockets or any of our other European wall sockets, such as the Skin Sensation French Socket 16A, Skin Sensation Double Germany Socket 16A, or 2a Socket Outlet, please feel free to contact us for more information and to start a procurement negotiation. We look forward to serving you.
References
- GOST 7396 standard documentation
- Electrical safety guidelines provided by relevant regulatory bodies


